Laravel Excel package 最近发布了 3.0 版本,它所具有的新功能,可以帮助简化高级需求,并且可用性极高。大家一起来探讨一下可能不知道的一些隐藏功能,这些功能使 Laravel Excel 成为 Excel 拓展的最佳首选。
1. 从 HTML 或者是 Blade 导入数据
假设已经有一个 HTML 表格

模版代码 — resources/views/customers/table.blade.php:
<table class="table"> <thead> <tr> <th></th> <th>First name</th> <th>Last name</th> <th>Email</th> <th>Created at</th> <th>Updated at</th> </tr> </thead> <tbody> @foreach ($customers as $customer) <tr> <td>{{ $customer->id }}</td> <td>{{ $customer->first_name }}</td> <td>{{ $customer->last_name }}</td> <td>{{ $customer->email }}</td> <td>{{ $customer->created_at }}</td> <td>{{ $customer->updated_at }}</td> </tr> @endforeach </tbody> </table>
你可以使用它去重复导入这个表格到 Excel
步骤1. 生成一个 Export 类
php artisan make:export CustomersFromView --model=Customer
步骤2. 使用 FromView 进行操作
namespace AppExports; use AppCustomer; use IlluminateContractsViewView; use MaatwebsiteExcelConcernsFromView; class CustomersExportView implements FromView { public function view(): View { return view('customers.table', [ 'customers' => Customer::orderBy('id', 'desc')->take(100)->get() ]); } }
这里是导入的 Excel 文件:
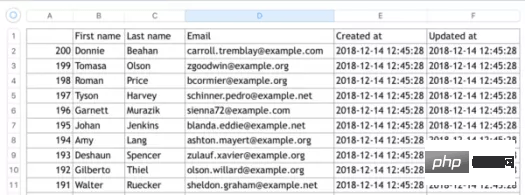
注意:这里只能导出 HTML 表格,不能具有任何标签,比如 html,body,p 等。
2. 导出到 PDF,HTML,或是其他格式的文件
虽然包的名称是 Laravel Excel,但是提供了多种导出格式,并且使用起来十分简单,只要在类里再添加一个参数即可:
return Excel::download(new CustomersExport(), 'customers.xlsx', 'Html');
比如这么做,就导出到了HTML,如下图所示:
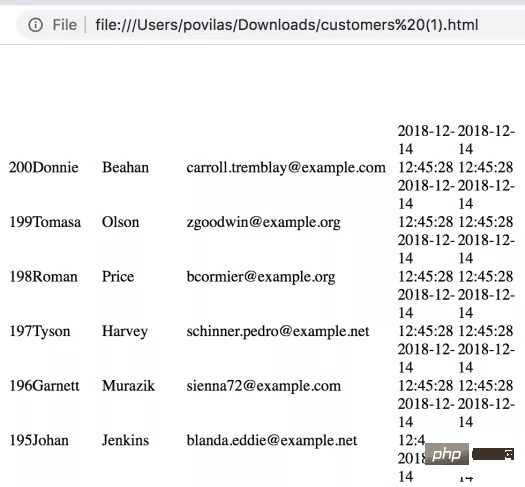
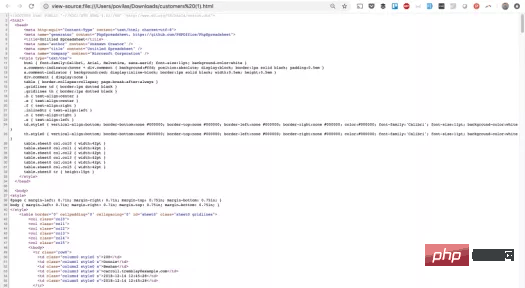
没有太多的样式,下面是源代码:
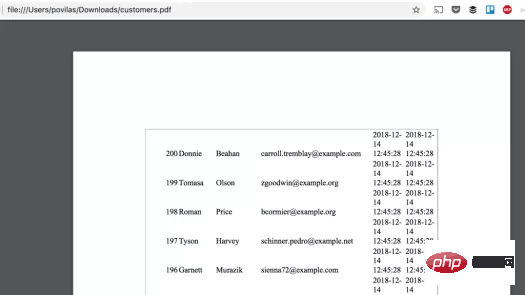
不仅如此,它还可以导出到 PDF,甚至你可以从中选择三种库,使用方法是一样的,你只要在最后一个参数指定格式就好了,下面是一些例子。 文档示例:
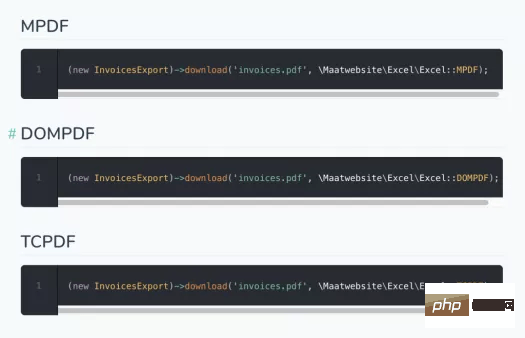
注意:你必须通过 composer 安装指定的 PDF 包,比如:
composer require dompdf/dompdf
导出的 PDF 如下所示:
3. 按需格式化单元格
Laravel Excel 有一个强有力的「爸爸」 — PhpSpreadsheet。因此它就拥有其各种底层功能,包括各种方式的单元格格式化。
此处是一个如何在 Laravel Export 类中使用它的例子,例如 app/Exports/CustomersExportStyling.php:
步骤 1. 在头部引入适当的类。
use MaatwebsiteExcelConcernsWithEvents; use MaatwebsiteExcelEventsAfterSheet;
步骤 2. 在 implements 部分使用 WithEvents 接口。
class CustomersExportStyling implements FromCollection, WithEvents { // ...
步骤 3. 用 AfterSheet 事件来创建 registerEvents() 方法。
/** * @return array */ public function registerEvents(): array { return [ AfterSheet::class => function(AfterSheet $event) { // ... 此处你可以任意格式化 }, ]; }
这里有个例子:
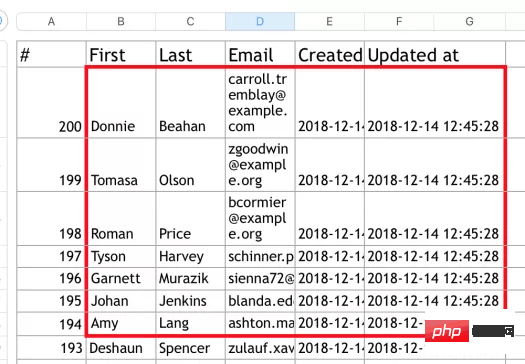
/** * @return array */ public function registerEvents(): array { return [ AfterSheet::class => function(AfterSheet $event) { // 所有表头-设置字体为14 $cellRange = 'A1:W1'; $event->sheet->getDelegate()->getStyle($cellRange)->getFont()->setSize(14); // 将样式数组应用于B2:G8范围单元格 $styleArray = [ 'borders' => [ 'outline' => [ 'borderStyle' => PhpOfficePhpSpreadsheetStyleBorder::BORDER_THICK, 'color' => ['argb' => 'FFFF0000'], ] ] ]; $event->sheet->getDelegate()->getStyle('B2:G8')->applyFromArray($styleArray); // 将第一行行高设置为20 $event->sheet->getDelegate()->getRowDimension(1)->setRowHeight(20); // 设置 A1:D4 范围内文本自动换行 $event->sheet->getDelegate()->getStyle('A1:D4') ->getAlignment()->setWrapText(true); }, ]; }
这些「随机」样例展示的结果如下所示:
你可以在 Recipes page of PhpSpreadsheet docs中找到所有的以上以及
 站长资讯网
站长资讯网